How to Build a RAG Pipeline Step by Step
SkillVeris Team
AI Research Team
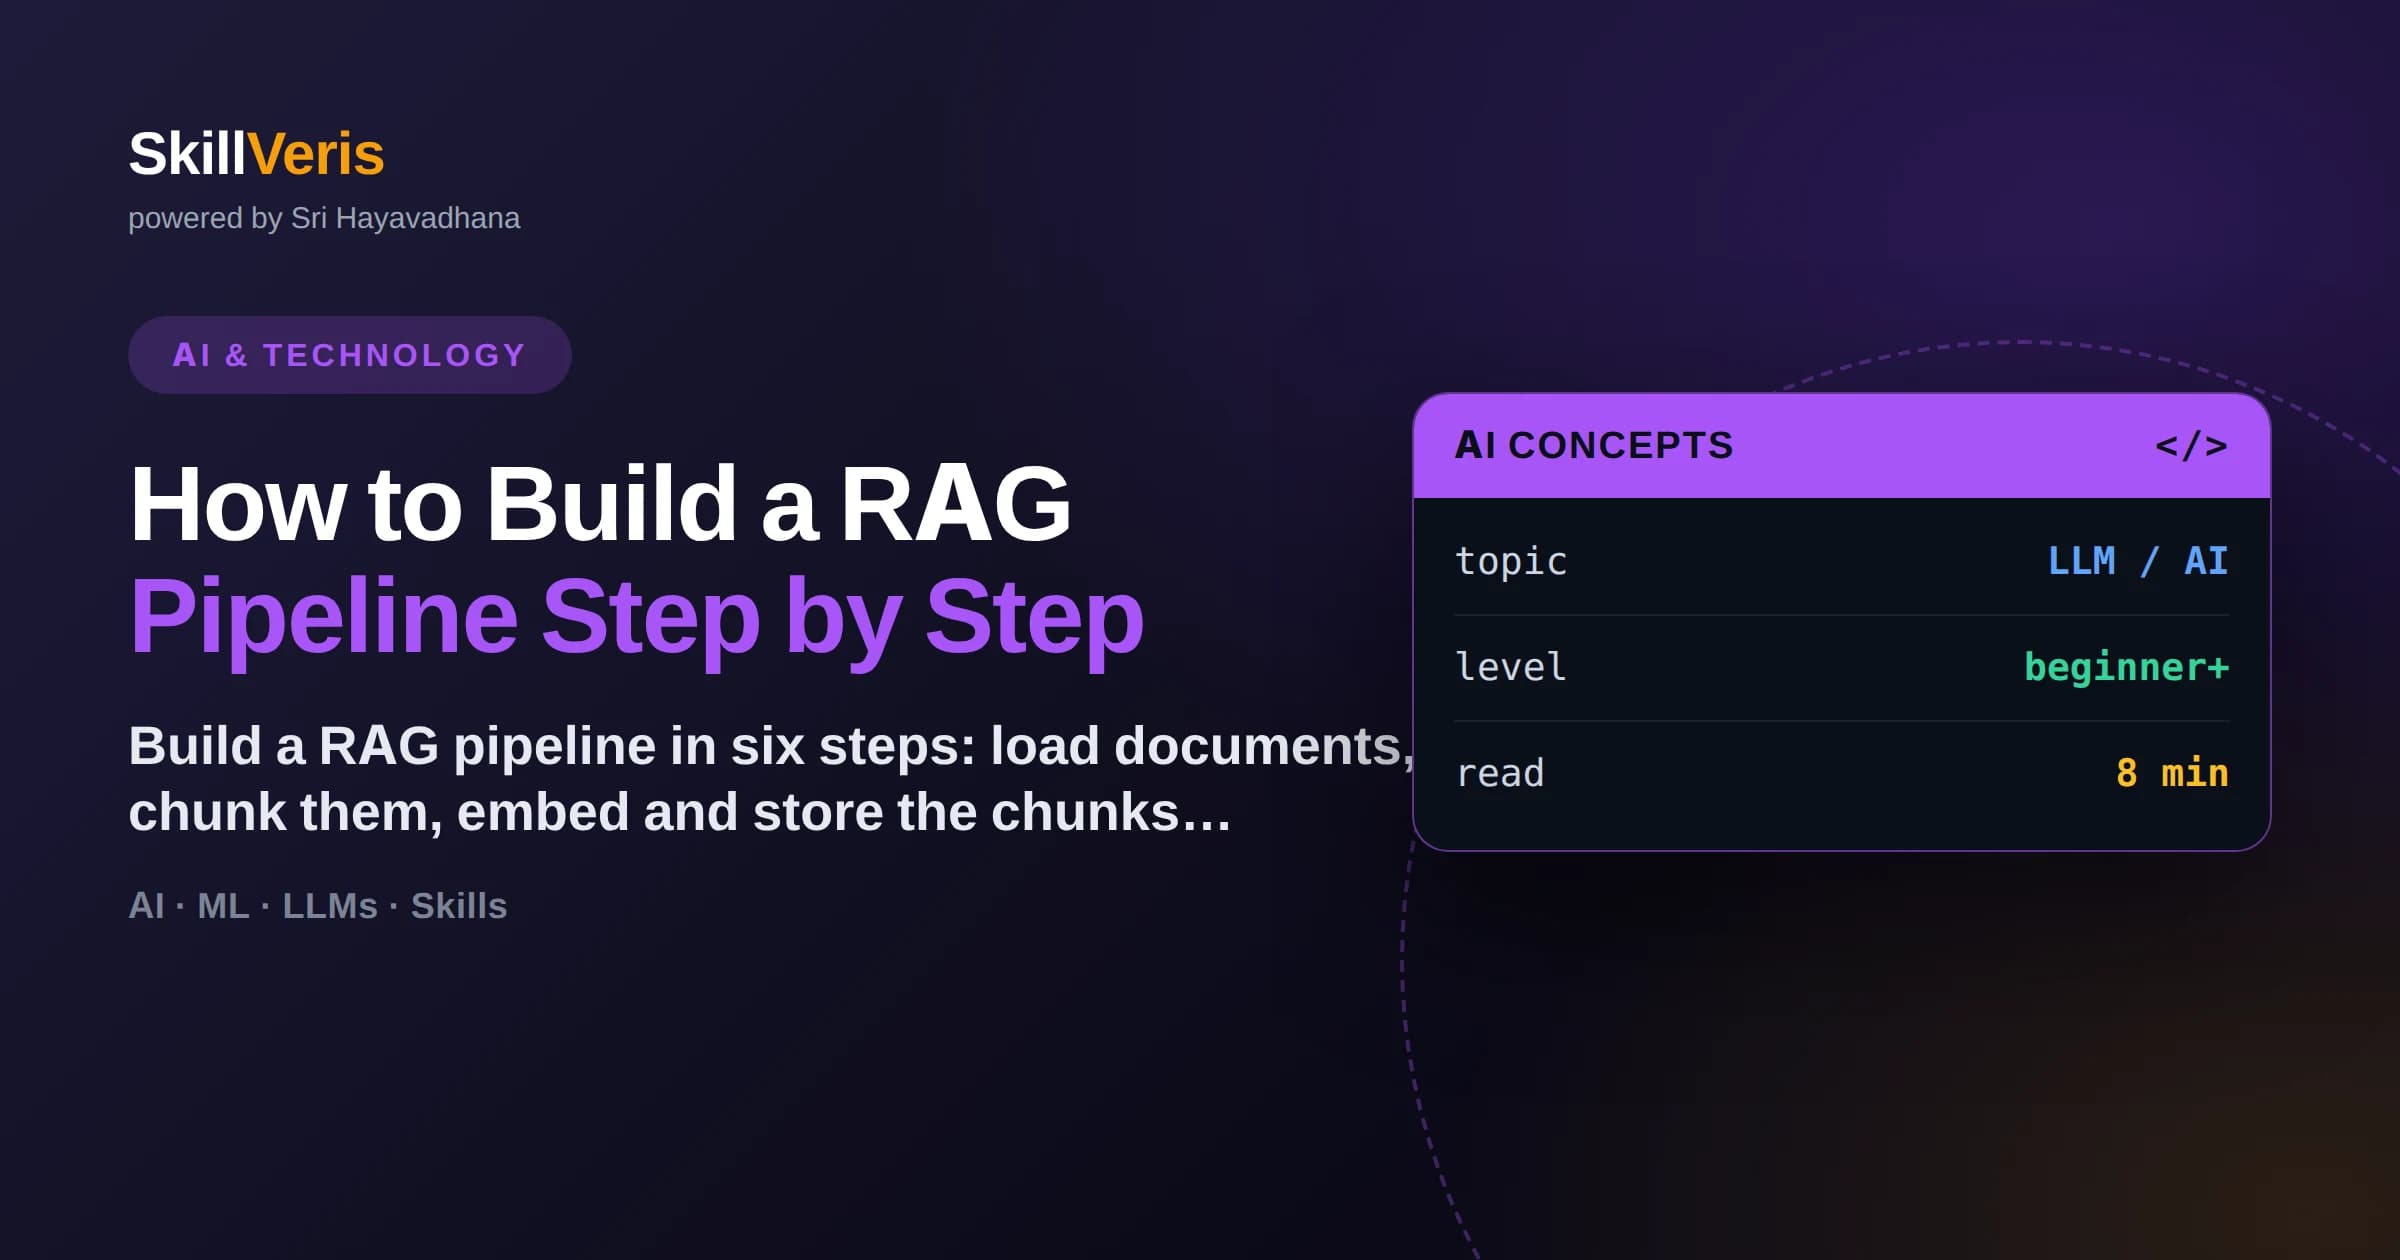
Building a RAG pipeline means wiring six stages: load documents, chunk them, embed and store the chunks, retrieve relevant ones, assemble a grounded prompt, and generate the answer.
In this guide, you'll learn:
- The offline steps (load, chunk, embed, store) run once when your data changes; the online steps (retrieve, augment, generate) run on every user query.
- A working prototype fits in under a hundred lines of Python using an embedding model, a vector store, and an LLM.
- Store metadata with every chunk so you can filter results and cite exact sources in the final answer.
- Re-ranking the top retrieved chunks with a cross-encoder often improves answer quality more than swapping the LLM.
1How to Build a RAG Pipeline
To build a RAG pipeline, you connect three tools — an embedding model, a vector store, and an LLM — across six stages: load your documents, split them into chunks, embed and store those chunks, retrieve the most relevant ones for a query, assemble them into a prompt, and generate a grounded answer. The first four stages run offline when data changes; the last two run for every question.
This guide walks each stage with concrete choices so you can go from a folder of documents to a working question-answering system, then harden it with re-ranking and evaluation.
2What You Need First
Before writing code, gather the pieces. Every choice here can be swapped later, so pick the simplest option that runs on your machine.
- A document source: PDFs, Markdown files, HTML pages, or database records.
- An embedding model: a hosted API or a local model such as BGE or E5.
- A vector store: pgvector, Chroma, or Qdrant work well for a first build.
- An LLM with an API you can call for generation.
- Python with a framework like LangChain or LlamaIndex, or plain requests if you prefer control.
3Step 1: Load Documents
Loading turns raw files into plain text your pipeline can process. The goal is clean text plus useful metadata — title, source path, and any section headings — which you will carry all the way to the final citation.
Loaders exist for almost every format. Whatever you use, strip boilerplate like navigation and footers so junk text does not pollute your index.
- docs = load_directory('./knowledge') # returns text + metadata per file
- for d in docs: d.text = clean(d.text) # drop nav, footers, repeated headers
- keep fields: title, source, url, section
4Step 2: Chunk the Text
Chunking splits each document into retrievable pieces. Chunks that are too long dilute relevance; too short and they lose context. A few hundred tokens with a small overlap is a solid default you can tune later.
- chunks = split(text, size=400, overlap=60) # tokens, with overlap
- split on headings and paragraphs before raw length
- attach the parent document's metadata to every chunk
💡Pro Tip
Log a few chunks and read them. If a chunk starts mid-sentence or ends before an idea completes, adjust your splitter before you embed thousands of them.
5Step 3: Embed and Store
Embedding converts each chunk into a vector — a list of numbers that captures its meaning — and the vector store indexes those vectors for fast similarity search. Use the same embedding model for indexing and querying, or the vectors will not line up.
- vectors = embed([c.text for c in chunks]) # same model used at query time
- store.upsert(ids, vectors, metadata=[c.meta for c in chunks])
- index type: HNSW is a good default for speed and recall
Batch and Cache
Embed in batches to cut API calls, and cache results keyed by chunk hash so re-indexing only re-embeds changed content. This makes updates cheap once the initial index exists.
6Step 4: Retrieve Relevant Chunks
Retrieval embeds the user's question with the same model, then asks the vector store for the closest chunks by cosine similarity. Returning a handful of strong matches beats returning many weak ones.
- q_vec = embed([question])[0]
- hits = store.search(q_vec, top_k=5, filter={'source': 'docs'})
- optionally re-rank hits with a cross-encoder for precision
Add Re-ranking
A cross-encoder re-ranker scores each candidate chunk against the question directly, reordering the shortlist so the most relevant passage lands first. It is one of the highest-leverage upgrades in a RAG pipeline.
7Step 5: Assemble the Prompt and Generate
Now you build the prompt: a system instruction to answer only from the supplied context, the retrieved chunks labelled with their sources, and the user's question. The instruction to admit uncertainty is what keeps the model honest.
The LLM reads the assembled context and writes an answer. Ask it to cite the source of each claim so users can verify the response against the original documents.
- context = '\n\n'.join(f'[{h.source}] {h.text}' for h in hits)
- prompt = SYSTEM + context + f'\nQuestion: {question}\nCite sources.'
- answer = llm.generate(prompt)
8Common Mistakes to Avoid
Most first pipelines work but underperform for predictable reasons. Watch for these.
- Different embedding models for indexing and querying — vectors must come from the same model.
- Skipping metadata, which makes source citations and filtering impossible later.
- Retrieving too many chunks, drowning the signal in irrelevant context.
- No evaluation, so you cannot tell whether a change helped or hurt.
- Never re-indexing after documents change, leaving stale answers in place.
⚠️Watch Out
If answers are wrong, inspect the retrieved chunks first. Nine times out of ten the problem is retrieval, not the model — fix the chunk that never arrived.
9Evaluate Before You Ship
A small labelled test set turns guesswork into engineering. Write a handful of real questions with the source that should answer each, then measure retrieval and answer quality after every change.
- Retrieval hit rate: is the correct chunk in the top results?
- Faithfulness: does the answer stay inside the retrieved evidence?
- Relevance: does it actually answer the question asked?
- Latency: is the end-to-end response fast enough for your users?
10Key Takeaways
Building a RAG pipeline is a sequence of small, testable steps rather than one big leap.
- The six stages are load, chunk, embed, store, retrieve, and generate.
- Offline stages run when data changes; online stages run per query.
- Carry metadata through every stage so you can cite sources.
- Re-ranking and evaluation give the biggest quality gains for the least effort.
- Fix retrieval before blaming the model when answers go wrong.
11Frequently Asked Questions
Q: Do I need a framework like LangChain to build RAG? A: No. Frameworks speed up prototyping and provide loaders and connectors, but a RAG pipeline is simple enough to build by hand with an embedding API, a vector store client, and an LLM call. Start with whichever gets you to a working loop fastest.
Q: How many chunks should I retrieve per query? A: Start with three to five and measure. More chunks add context but also noise, and they consume the model's context window. Re-ranking lets you retrieve a wider net and then keep only the best few.
Q: Which vector store should a beginner pick? A: Chroma or pgvector are the gentlest starting points because they run locally with little setup. Move to a managed store like Pinecone or Qdrant when you need scale, filtering, or high availability.
Q: How do I handle documents that update frequently? A: Cache embeddings by chunk hash and run a scheduled re-indexing job that only re-embeds changed content. This keeps the vector store fresh while avoiding the cost of re-embedding everything.
Related Reading
Get The Print Version
Download a PDF of this article for offline reading.
About the Publisher
SkillVeris Team
AI Research Team
Our AI team covers the latest in machine learning, generative AI, and emerging tech — clearly and accurately.
View all postsRelated Posts
Never miss an update
Get the latest tutorials and guides delivered to your inbox.
No spam. Unsubscribe anytime.