Learn JavaScript Through Music: Build a Playlist App
SkillVeris Team
Content Team
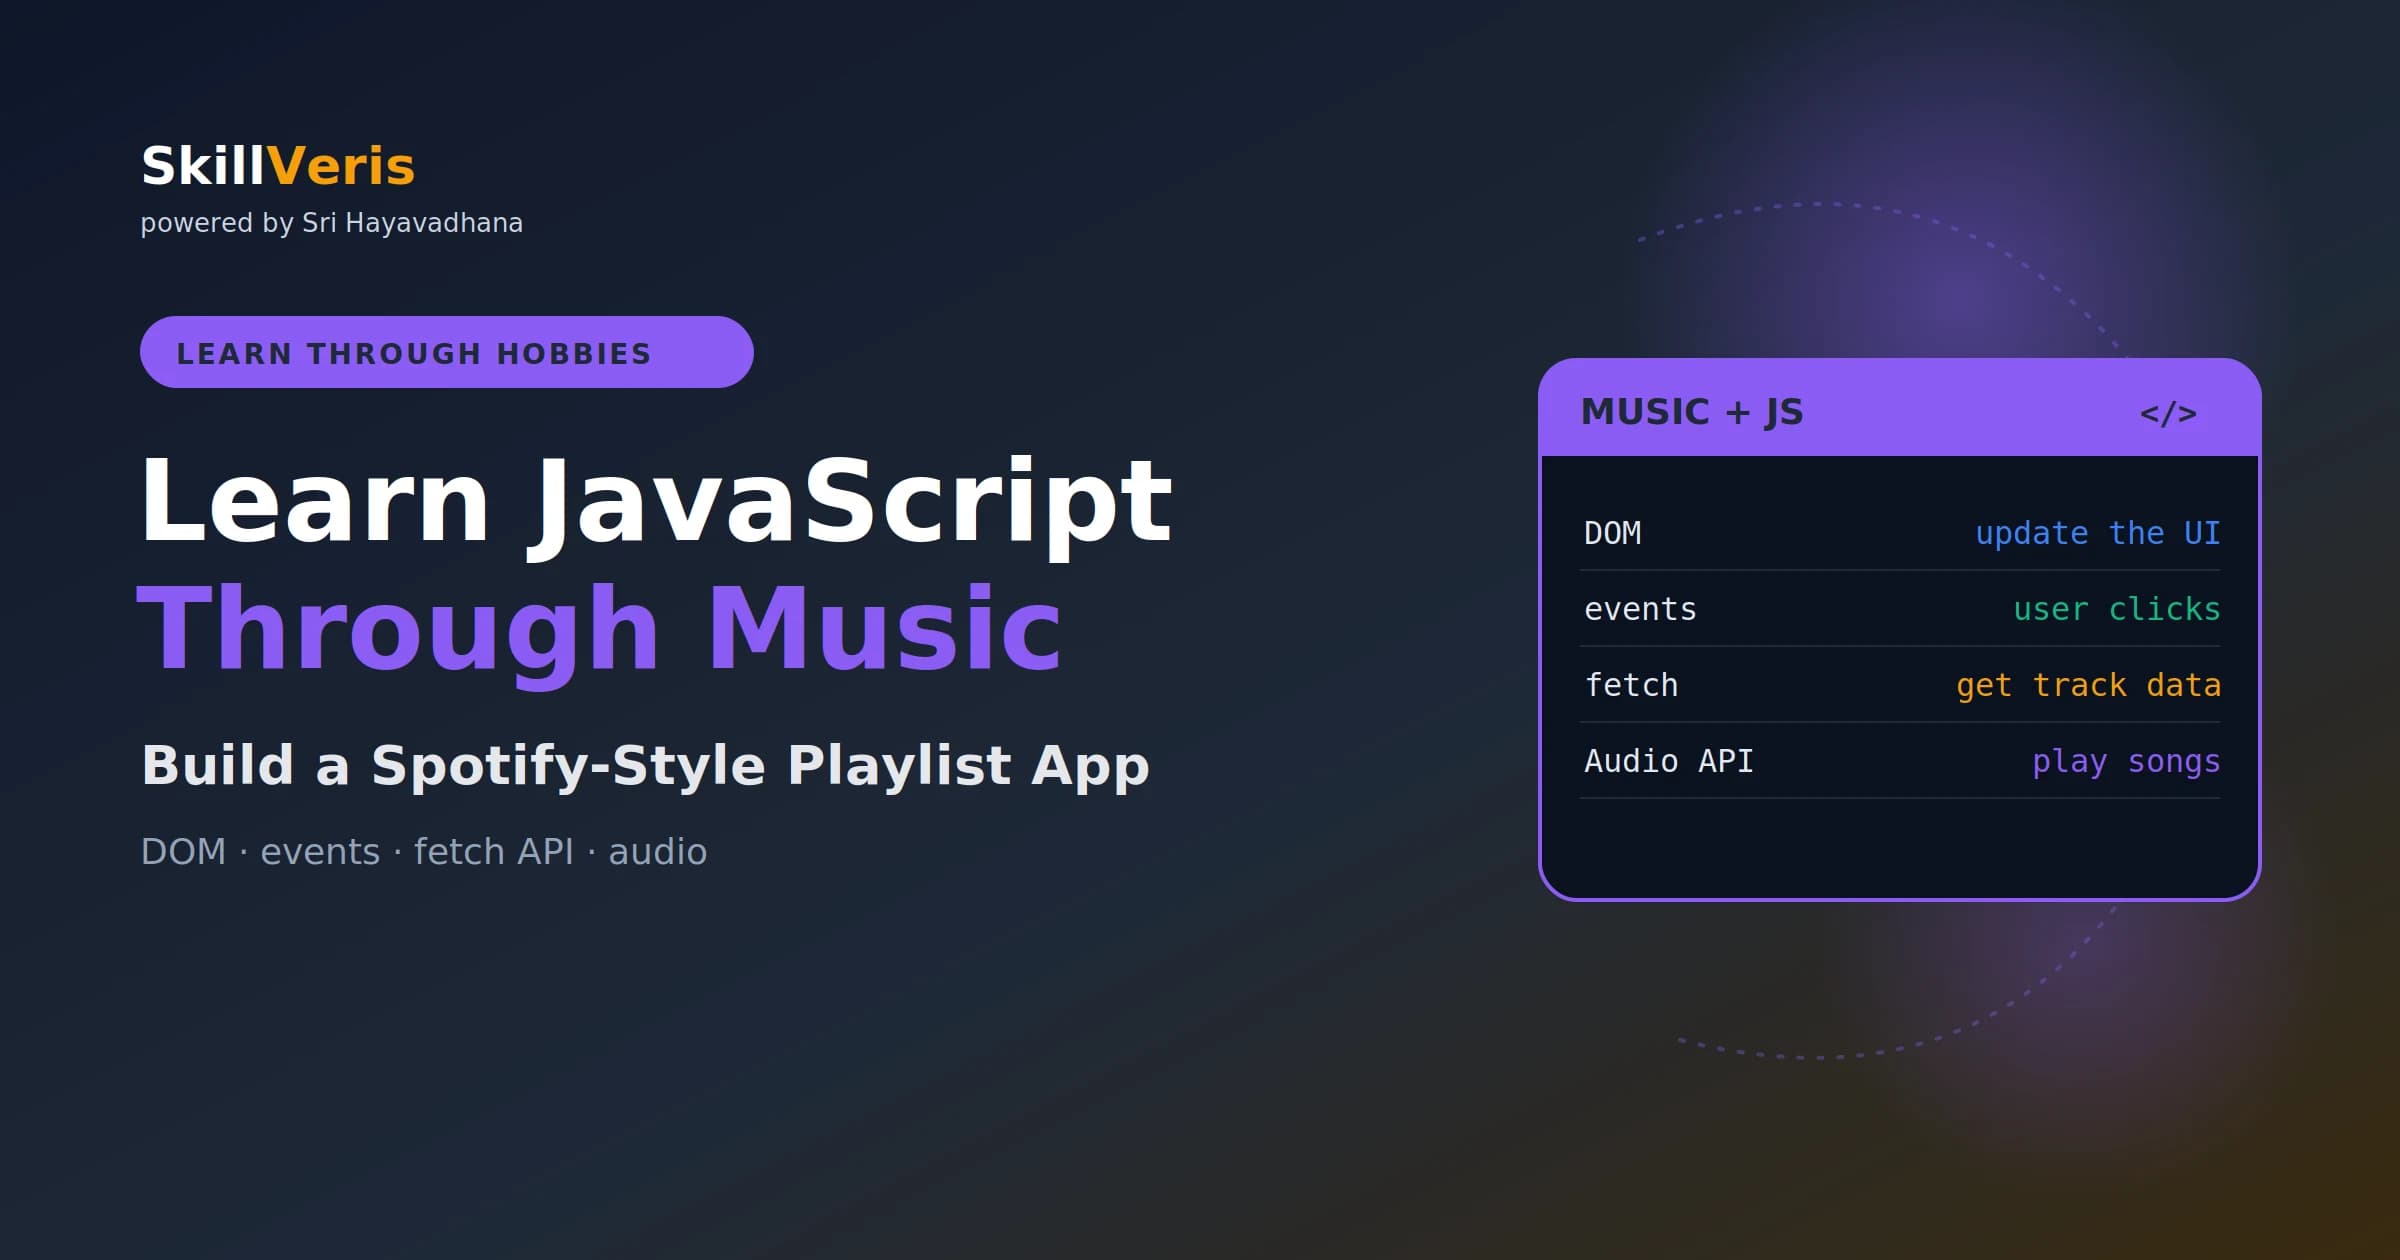
A music player teaches the core JavaScript skills every frontend developer needs: DOM manipulation, event listeners, and async data fetching.
In this guide, you'll learn:
- Build it once and you understand how nearly every interactive web UI works under the hood.
- Unlike a to-do app, a music player gives immediate, satisfying feedback that keeps you motivated while learning.
- The progress-bar seek pattern — measure position, convert to a percentage, set the value — reappears in every custom slider and drag interface.
- Separating track metadata into a JSON file teaches the same data-and-logic split used by real React apps and dashboards.
1Why a Music Player Is the Perfect JS Project
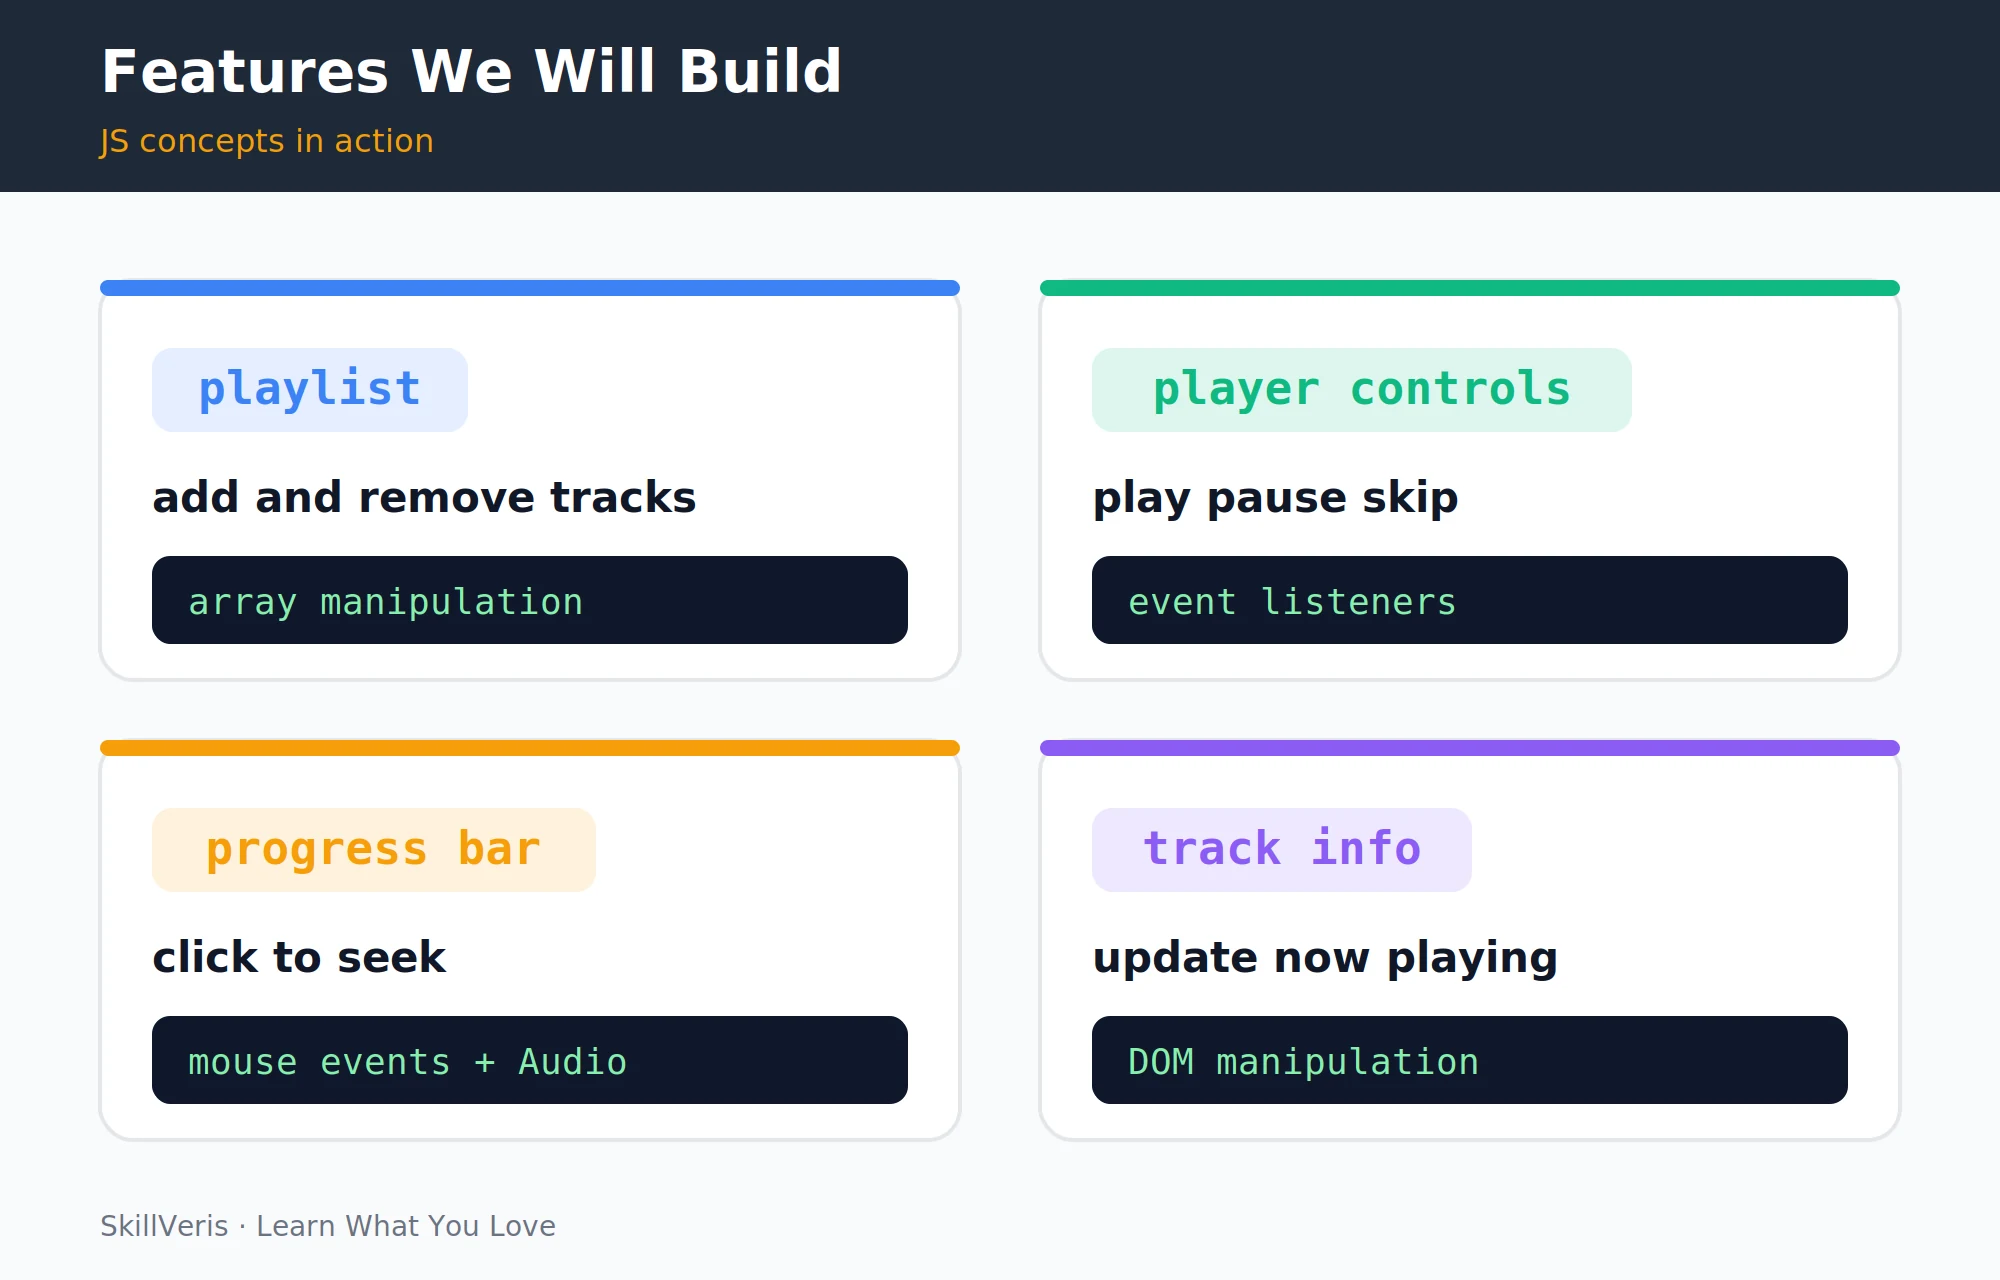
A music player touches every fundamental JavaScript skill in a single project, which makes it an unusually efficient way to learn.
Unlike a to-do app, a music player gives you immediate, satisfying feedback — you press play and something happens. That feedback loop is invaluable when you're learning.
- DOM manipulation — updating the track title, artist, cover art, and progress bar.
- Event listeners — responding to button clicks, progress-bar clicks, and keyboard shortcuts.
- The Web Audio API — controlling playback, volume, and seeking.
- Async JavaScript — loading track metadata from a JSON file.
- Array manipulation — managing the playlist, shuffling, and repeating.
2Project Structure
Organise the project into a handful of clear files: HTML for structure, CSS for styling, JavaScript for logic, and a JSON file for track metadata, plus folders for audio and album art.
Use royalty-free audio from freemusicarchive.org or pixabay.com/music for your track files. This keeps your project legally shareable.
Folder layout
A clean structure for the player:
music-player/
  index.html      # UI structure
  style.css       # dark premium styling
  app.js          # all JavaScript logic
  tracks.json     # track metadata
  tracks/         # audio files (.mp3)
    track1.mp3
    track2.mp3
  covers/         # album art (.jpg)
    cover1.jpg
cover2.jpg3The HTML Skeleton
The markup gives the player its structure: a cover image, track info, a progress bar with time labels, playback controls, and a hidden audio element. Each element carries an id so JavaScript can target it.
The audio element does the actual playback work and stays invisible, while the visible controls drive it through JavaScript.
index.html
The player markup:
<!DOCTYPE html>
<html lang="en">
<head>
<meta charset="UTF-8">
<title>SkillVeris Player</title>
<link rel="stylesheet" href="style.css">
</head>
<body>
<div class="player">
<img id="cover" src="covers/cover1.jpg" alt="Album art">
<div class="track-info">
<h2 id="track-title">Track Title</h2>
<p id="track-artist">Artist Name</p>
</div>
<div class="progress-container">
<span id="current-time">0:00</span>
<div class="progress-bar" id="progress-bar">
<div class="progress" id="progress"></div>
</div>
<span id="duration">0:00</span>
</div>
<div class="controls">
<button id="prev-btn">◀◀</button>
<button id="play-btn">▶</button>
<button id="next-btn">▶▶</button>
</div>
</div>
<audio id="audio"></audio>
<script src="app.js"></script>
</body>
</html>4Styling with CSS
A dark, minimal style gives the player a premium feel. The card is centred on the page with a rounded container, a square cover image, and an accent colour for the progress fill and hover states.
style.css
Core styling for the player:
body { margin:0; background:#0f172a; display:flex;
  justify-content:center; align-items:center; min-height:100vh; }
.player { background:#1f2937; border-radius:20px; padding:30px;
  width:320px; text-align:center; color:#fff;
  box-shadow:0 20px 60px rgba(0,0,0,.5); }
#cover { width:200px; height:200px; border-radius:12px;
  object-fit:cover; margin-bottom:16px; }
#track-title { font-size:18px; font-weight:700; margin:0; }
#track-artist { color:#9aa3af; font-size:14px; margin:4px 0 16px; }
.progress-bar { flex:1; height:6px; background:#374151;
  border-radius:3px; cursor:pointer; }
.progress { height:100%; background:#f59e0b; border-radius:3px; width:0%; }
.controls button { background:none; border:none; color:#fff;
  font-size:20px; cursor:pointer; padding:8px 16px; }
.controls button:hover { color:#f59e0b; }5Loading Tracks with JavaScript
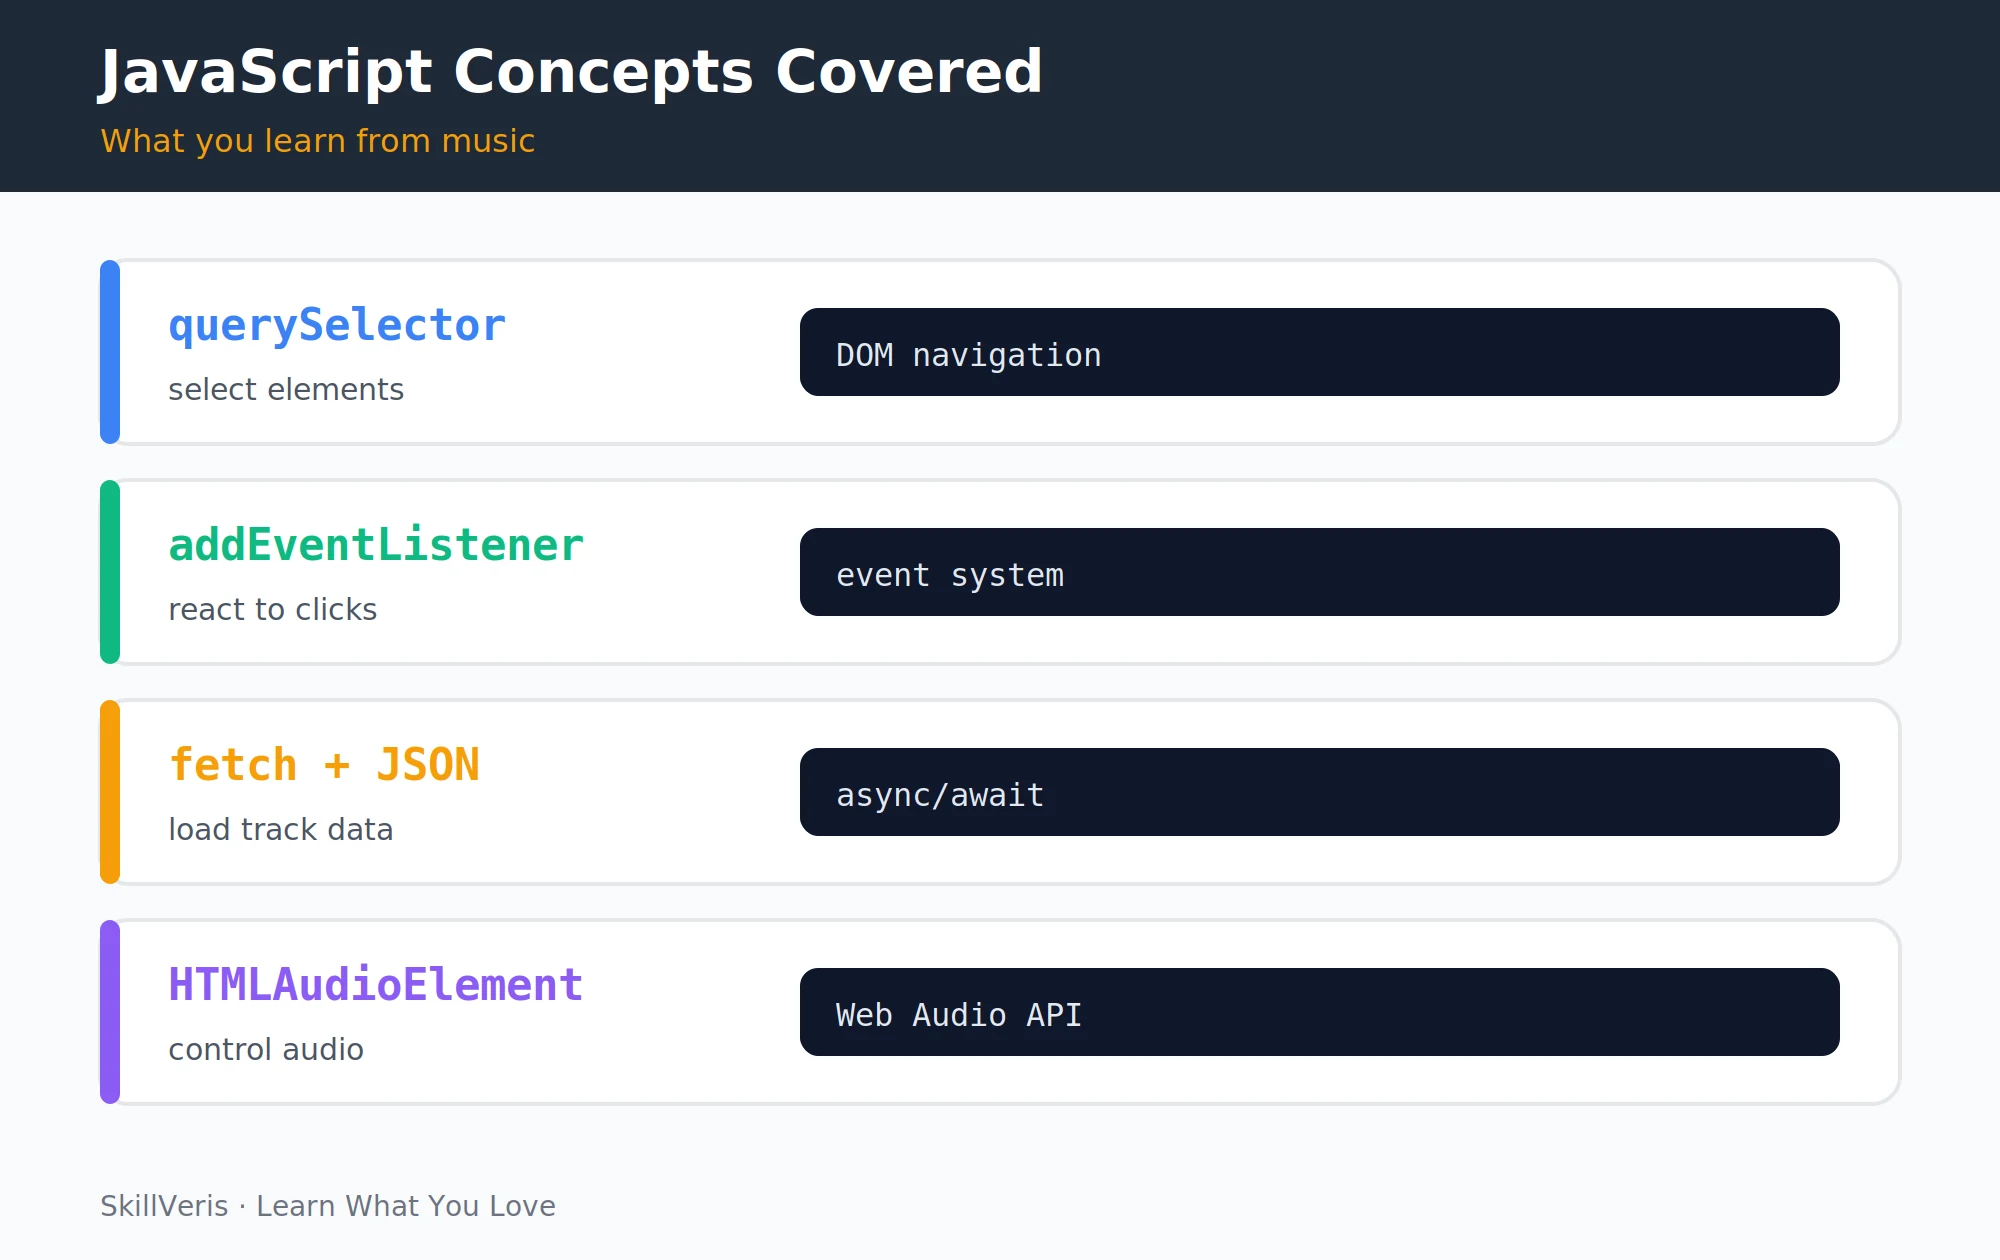
Start app.js by grabbing references to every element you'll update, then fetch the track list from a JSON file asynchronously. Once the data arrives, load the first track into the player.
The tracks.json file contains an array of track objects, each with a title, artist, audio source, and cover image.
app.js — element references and fetch
Wire up the elements and load the data:
// app.js
const audio = document.getElementById('audio');
const playBtn = document.getElementById('play-btn');
const prevBtn = document.getElementById('prev-btn');
const nextBtn = document.getElementById('next-btn');
const cover = document.getElementById('cover');
const titleEl = document.getElementById('track-title');
const artistEl = document.getElementById('track-artist');
const progress = document.getElementById('progress');
const progressBar = document.getElementById('progress-bar');

let tracks = [];
let currentIndex = 0;

async function loadTracks() {
  const res = await fetch('tracks.json');
  tracks = await res.json();
  loadTrack(currentIndex);
}
loadTracks();
tracks.json
An array of track objects:
[
  { "title": "Summer Breeze", "artist": "Chill Beats",
    "src": "tracks/track1.mp3", "cover": "covers/cover1.jpg" },
  { "title": "City Nights", "artist": "Lo-Fi Lab",
    "src": "tracks/track2.mp3", "cover": "covers/cover2.jpg" }
]6Play, Pause, and Skip
A loadTrack function swaps the audio source, cover, title, and artist for a given index. A togglePlay function checks whether the audio is paused and switches the icon accordingly.
The modulo operator creates circular navigation: after the last track, the index wraps back to 0; before the first, it wraps to the last.
Playback controls
Load tracks and wire up the buttons:
function loadTrack(index) {
  const track = tracks[index];
  audio.src = track.src;
  cover.src = track.cover;
  titleEl.textContent = track.title;
  artistEl.textContent = track.artist;
}

function togglePlay() {
  if (audio.paused) {
    audio.play();
    playBtn.textContent = '▮▮'; // pause icon
  } else {
    audio.pause();
    playBtn.textContent = '▶'; // play icon
  }
}

playBtn.addEventListener('click', togglePlay);
nextBtn.addEventListener('click', () => {
  currentIndex = (currentIndex + 1) % tracks.length;
  loadTrack(currentIndex);
  audio.play();
});
prevBtn.addEventListener('click', () => {
  currentIndex = (currentIndex - 1 + tracks.length) % tracks.length;
  loadTrack(currentIndex);
  audio.play();
});7Updating the Now Playing Display
Listen for the audio element's ended event to auto-advance to the next track, and use the timeupdate event to keep the progress bar and time labels in sync as the song plays.
A small formatTime helper converts seconds into a minutes:seconds string for the current-time and duration labels.
Time and progress updates
Auto-advance and live time display:
// Auto-advance to next track when current ends
audio.addEventListener('ended', () => {
  currentIndex = (currentIndex + 1) % tracks.length;
  loadTrack(currentIndex);
  audio.play();
});

// Update time display
function formatTime(seconds) {
  const m = Math.floor(seconds / 60);
  const s = Math.floor(seconds % 60).toString().padStart(2, '0');
  return `${m}:${s}`;
}

audio.addEventListener('timeupdate', () => {
  const pct = (audio.currentTime / audio.duration) * 100;
  progress.style.width = `${pct}%`;
  document.getElementById('current-time').textContent = formatTime(audio.currentTime);
  document.getElementById('duration').textContent = formatTime(audio.duration || 0);
});8The Progress Bar
Make the progress bar clickable so users can seek. Read the bar's bounding rectangle, calculate the click position as a fraction of its width, and set the audio's currentTime to that fraction of the duration.
This pattern — calculate position relative to an element, convert to a percentage, set the value — appears in every custom range slider, colour picker, and drag interface. It's one of the most reusable DOM patterns to know.
💡Pro Tip
Add a loadedmetadata listener on the audio element to update the duration display once the file is loaded — audio.duration is NaN until the metadata is ready.
Click to seek
Seek by clicking the bar:
// Click on progress bar to seek
progressBar.addEventListener('click', (e) => {
  const rect = progressBar.getBoundingClientRect();
  const clickPct = (e.clientX - rect.left) / rect.width;
  audio.currentTime = clickPct * audio.duration;
});9Keyboard Shortcuts
Listen for keydown events on the document so the spacebar toggles play/pause and the arrow keys skip tracks. Call preventDefault on the spacebar to stop the page from scrolling.
Adding keyboard shortcuts teaches event handling and the switch statement — and makes the app immediately more usable.
Key bindings
Spacebar and arrow-key controls:
// Spacebar = play/pause, arrow keys = skip
document.addEventListener('keydown', (e) => {
  switch (e.key) {
    case ' ':
      e.preventDefault(); // stop page scroll
      togglePlay();
      break;
    case 'ArrowRight':
      nextBtn.click();
      break;
    case 'ArrowLeft':
      prevBtn.click();
      break;
  }
});10Loading Track Data from JSON
Separating track metadata into a JSON file teaches a pattern used across all web development: data and logic live in separate files, and JavaScript fetches the data at runtime.
Practise it here with local JSON and the concept transfers immediately to real API calls.
- A React app fetching products from a REST API.
- A dashboard loading chart data from a backend endpoint.
- A game loading level data from a configuration file.
11Adding to a Portfolio
Deploy the player for free on GitHub Pages: push the project folder to a repo, enable Pages from the main branch root in Settings, and your player goes live at a public GitHub Pages URL.
Before showcasing it, add a few extensions to make it stand out.
- Shuffle button — randomise track order.
- Volume slider — set audio.volume from 0 to 1.
- Repeat button — set audio.loop = true.
- A full playlist panel showing all tracks, with the current one highlighted.
12Key Takeaways
Building the player exercises the full toolkit of browser JavaScript, and doing it on something you enjoy is the best motivation to keep going.
- DOM manipulation — getElementById, textContent, style.width, and src updates.
- Event listeners — click, keydown, timeupdate, ended, and loadedmetadata.
- The Web Audio element — play(), pause(), currentTime, duration, and volume.
- Async data loading — fetch plus await plus JSON parsing from a local file.
- Building something you enjoy using is the best motivation to keep learning.
13What to Learn Next
Keep building on these JavaScript fundamentals with a few natural next steps.
- JavaScript ES6+ Features — modernise the code you wrote here.
- React Hooks Explained — rebuild this player as a React component.
- Build a Developer Portfolio — feature this project prominently.
14Frequently Asked Questions
Can I use Spotify's API to get real tracks? Spotify's API provides track metadata and 30-second preview clips only — not full tracks. Full playback requires a Spotify Premium account via the Web Playback SDK. For a portfolio project, royalty-free audio from freemusicarchive.org or pixabay.com/music is simpler and legally clean.
Why doesn't autoplay work when the page loads? Browsers block autoplay that starts without user interaction to prevent unwanted sound on page load. Your first audio.play() must run inside a user event handler such as a click or keydown. This is a browser policy, not a bug in your code.
How do I add a volume control? Add an HTML range input with min 0, max 1, and a small step, then listen to its input event and set audio.volume to the slider's value. It's effectively one line of JavaScript.
Can I turn this into a React project? Yes — and it's an excellent exercise. useState replaces the global variables, and useEffect with a ref to the audio element replaces the direct DOM event listeners. The logic is identical; the structure becomes more maintainable.
Related Reading
Get The Print Version
Download a PDF of this article for offline reading.
About the Publisher
SkillVeris Team
Content Team
We believe the best way to learn tech is through what you already love — sports, music, photography, and more.
View all postsRelated Posts
Never miss an update
Get the latest tutorials and guides delivered to your inbox.
No spam. Unsubscribe anytime.