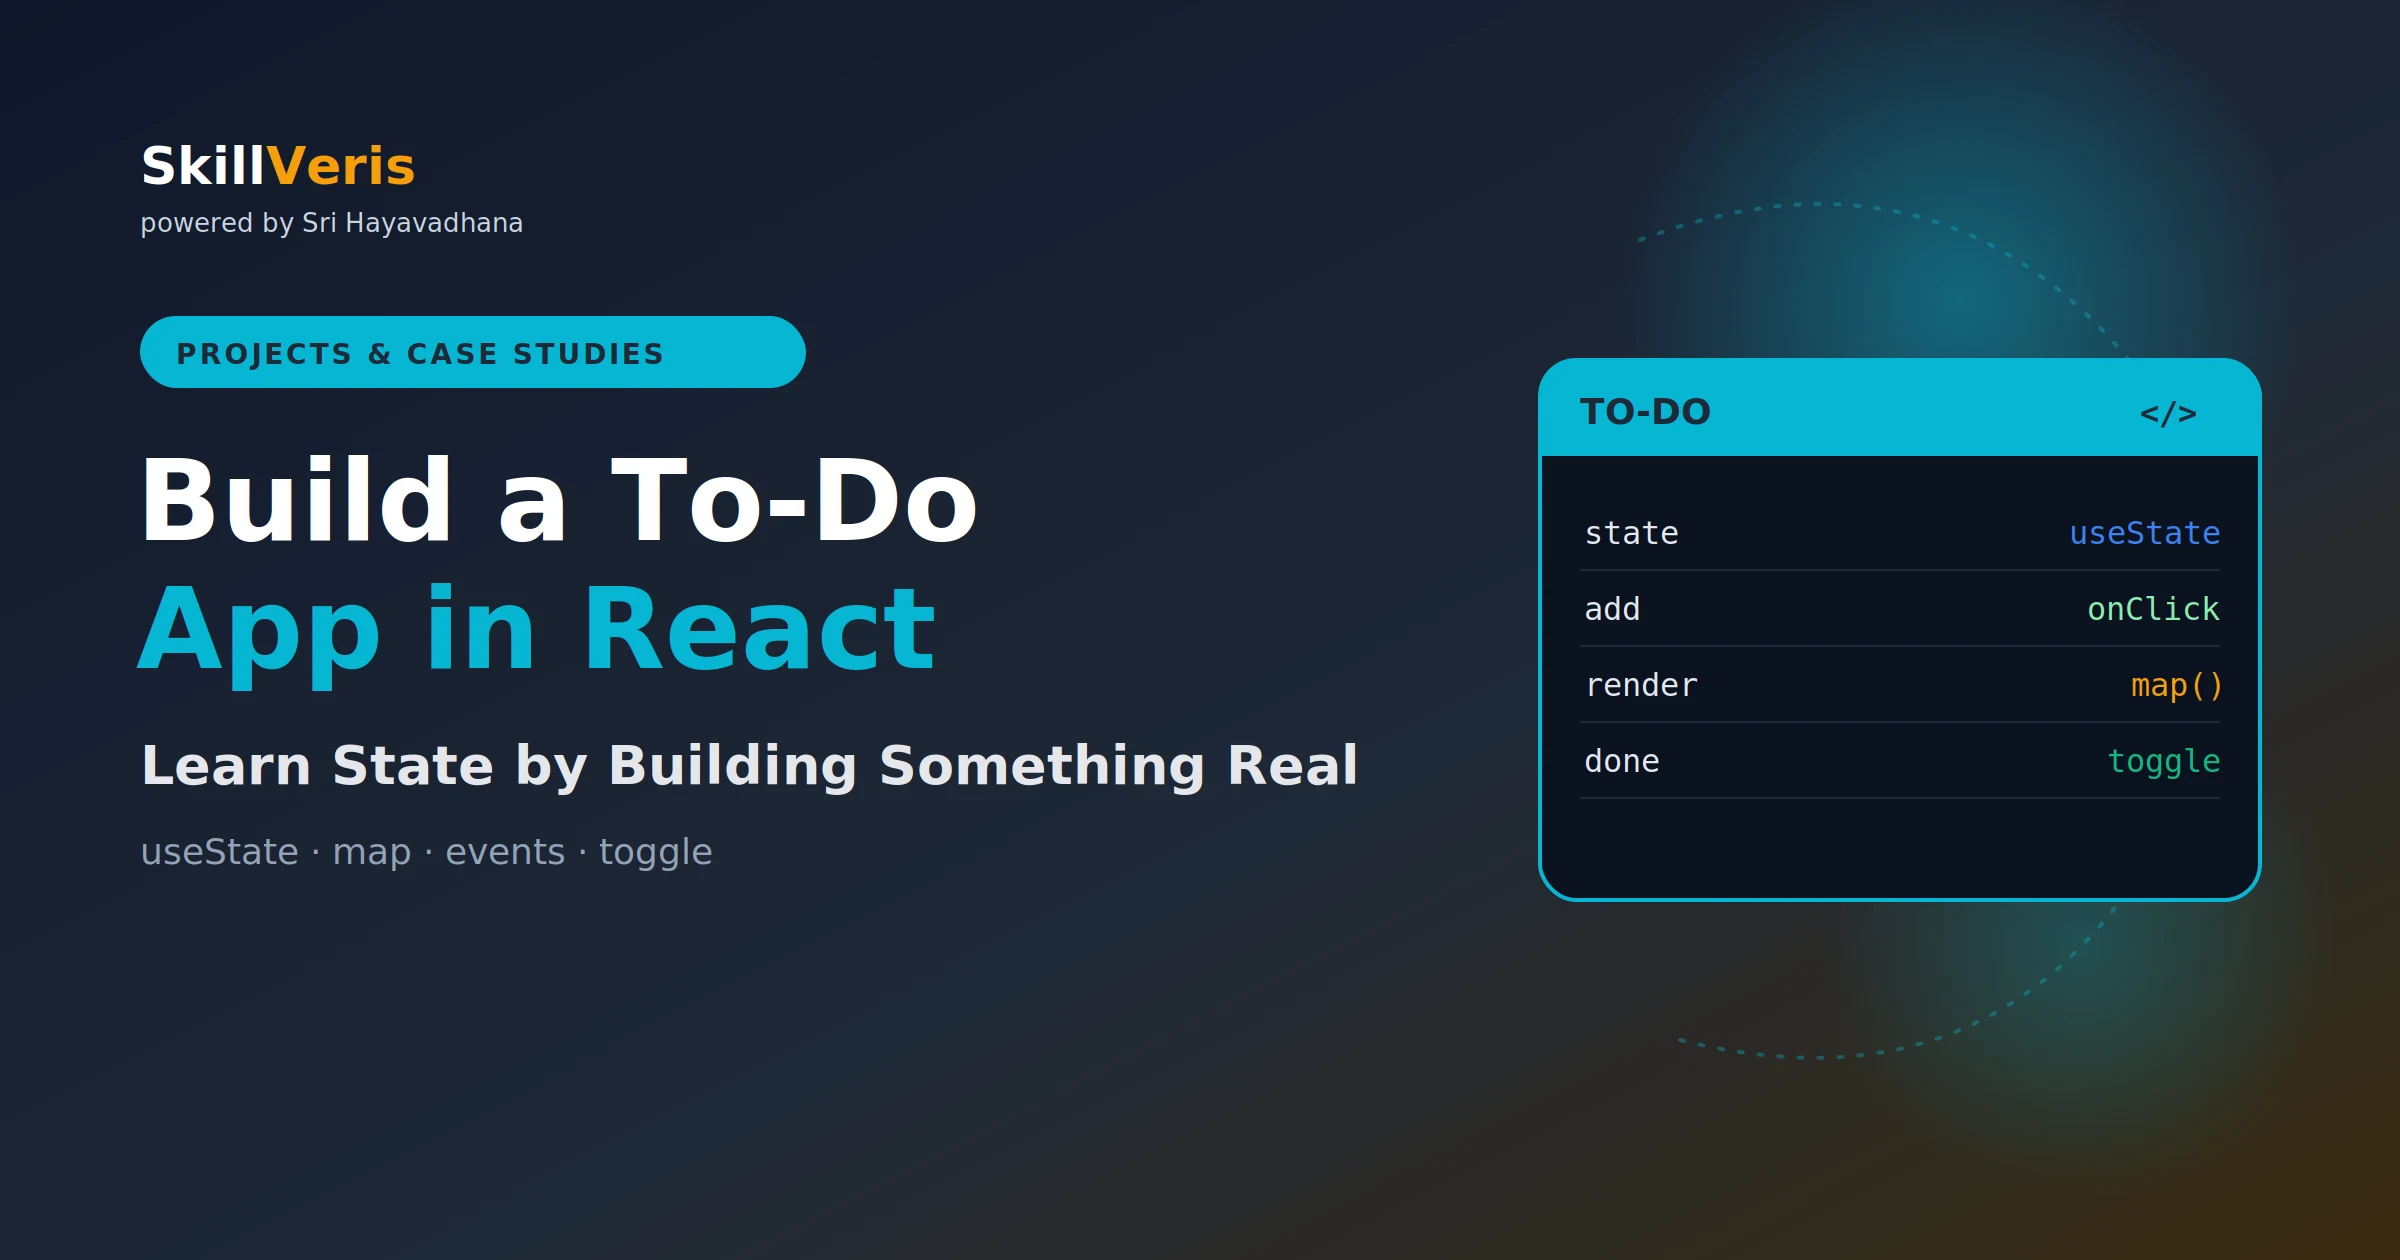
Project: Build a Full-Stack To-Do App with React, Node.js and MongoDB
SkillVeris Team
Engineering Team
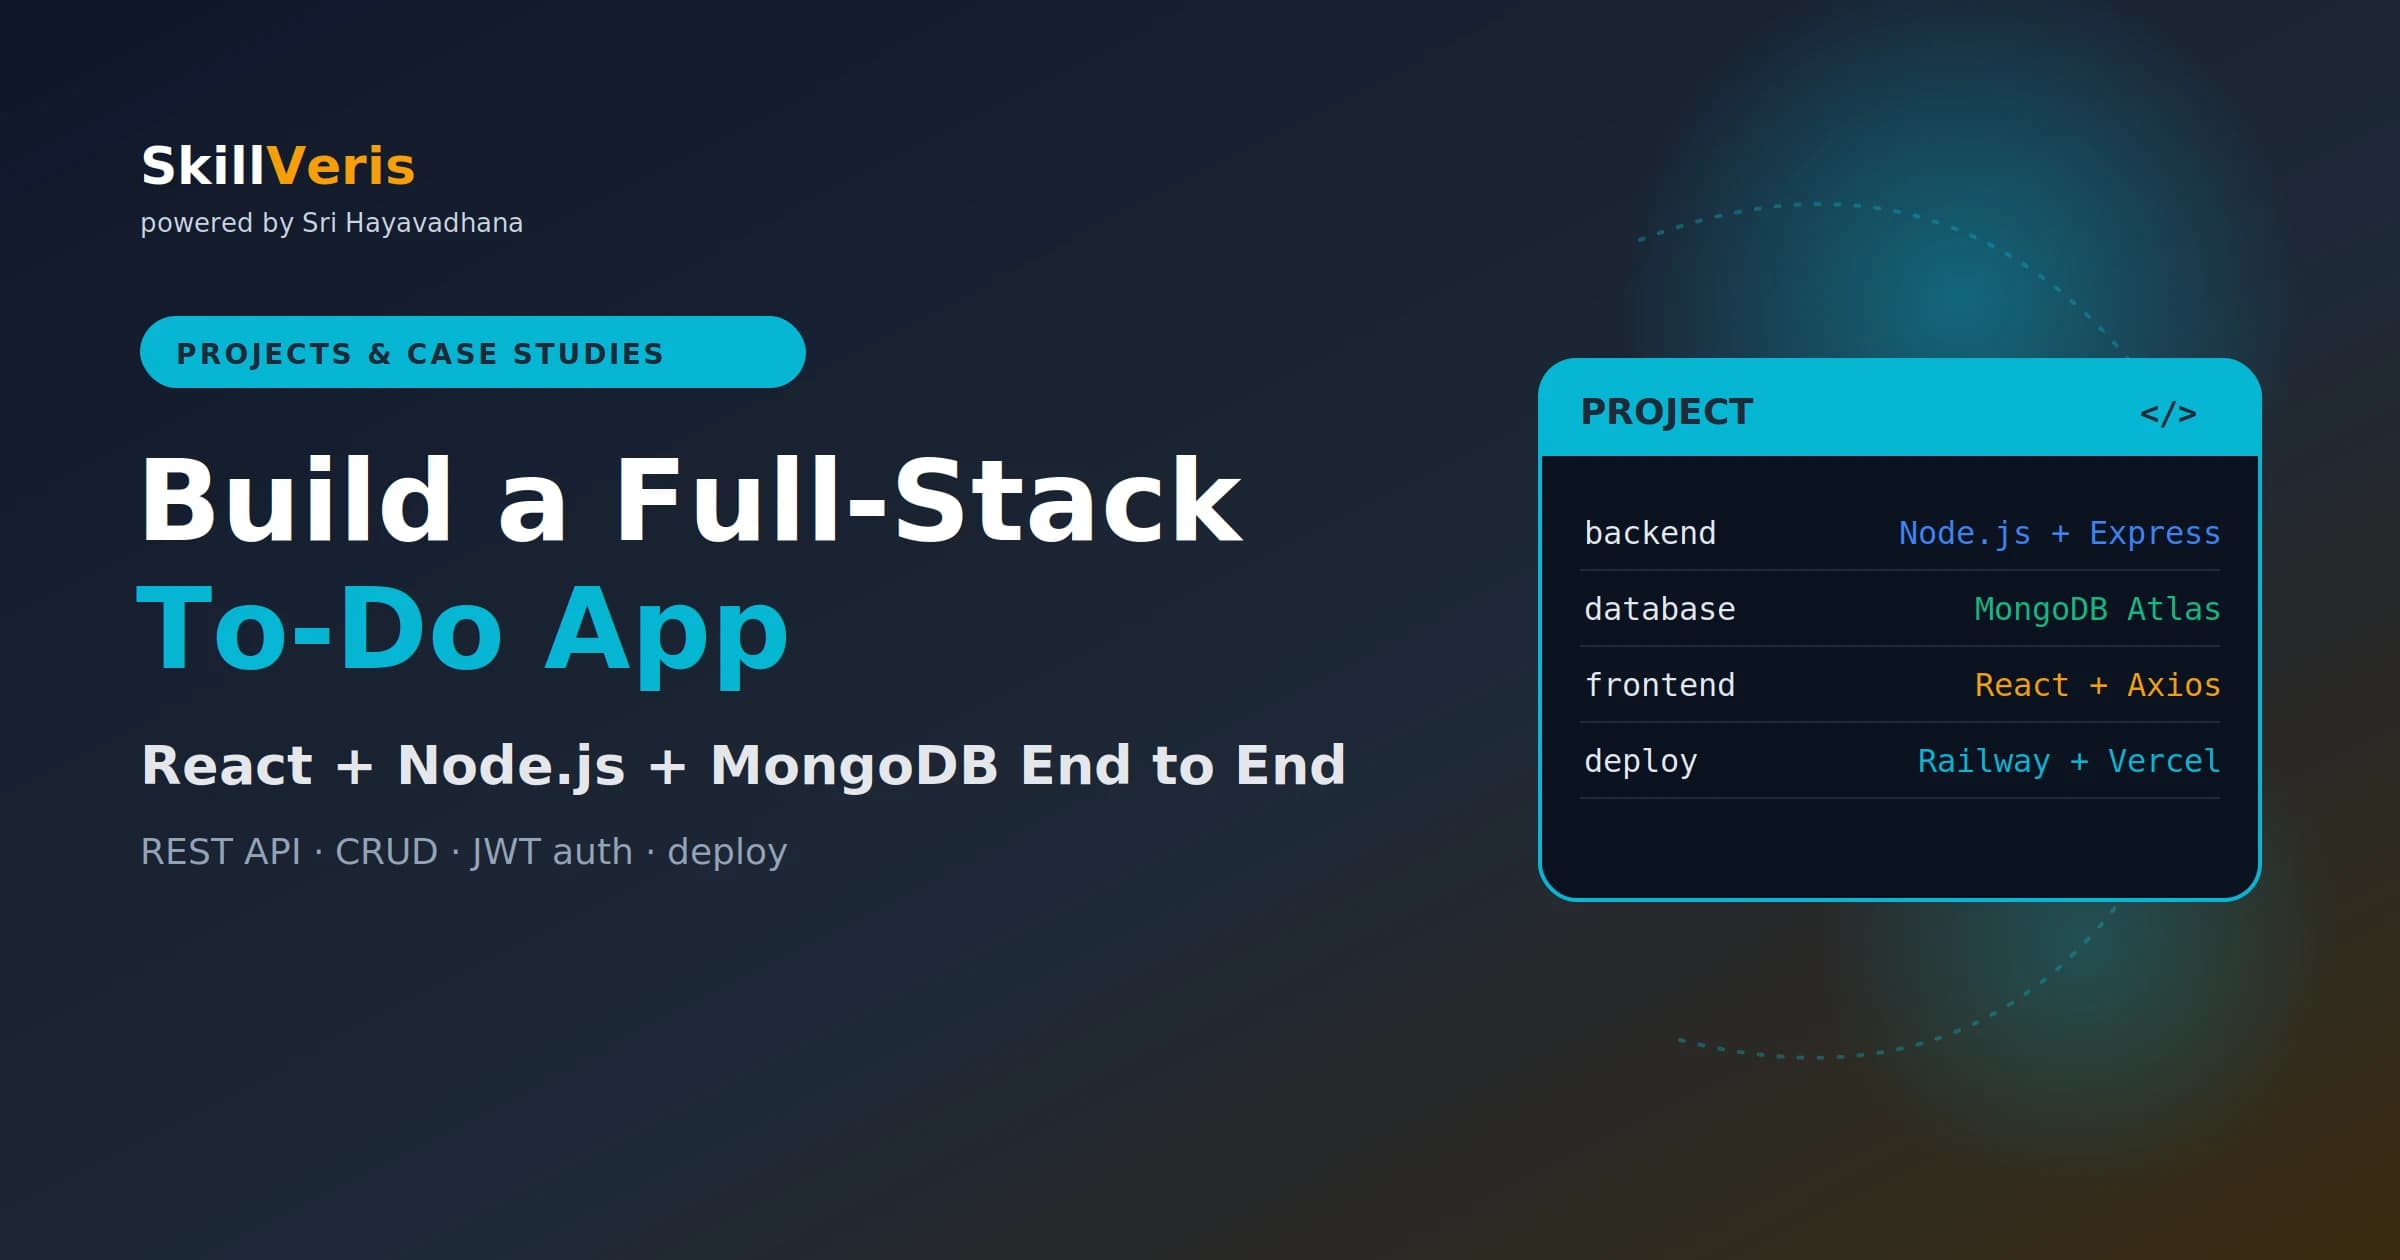
This project teaches the complete MERN workflow: a Node.js/Express REST API, a MongoDB Atlas database, a React frontend, and JWT authentication.
In this guide, you'll learn:
- Every concept in this build appears in real production apps, from CRUD endpoints to stateless auth.
- You will deploy the backend on Railway and the frontend on Vercel as two independent services.
- JWT authentication is stateless: the token carries the user's identity on every request with no server sessions.
- Loading states and error handling on every API call are what separate a tutorial from a professional app.
1What You'll Build
By the end of this project you'll have a working full-stack application that combines an authenticated API, a cloud database, and a modern React UI. It is a classic portfolio project because it covers every pattern you'll encounter in real production apps.
Both services are deployed separately, mirroring the real-world pattern of decoupled frontend and backend architectures.
- A Node.js/Express REST API with authenticated routes.
- A MongoDB Atlas database storing users and their to-do items.
- A React frontend with login, registration, and CRUD operations on todos.
- JWT-based stateless authentication.
- Both services deployed separately: backend on Railway, frontend on Vercel.
2Tech Stack and Architecture
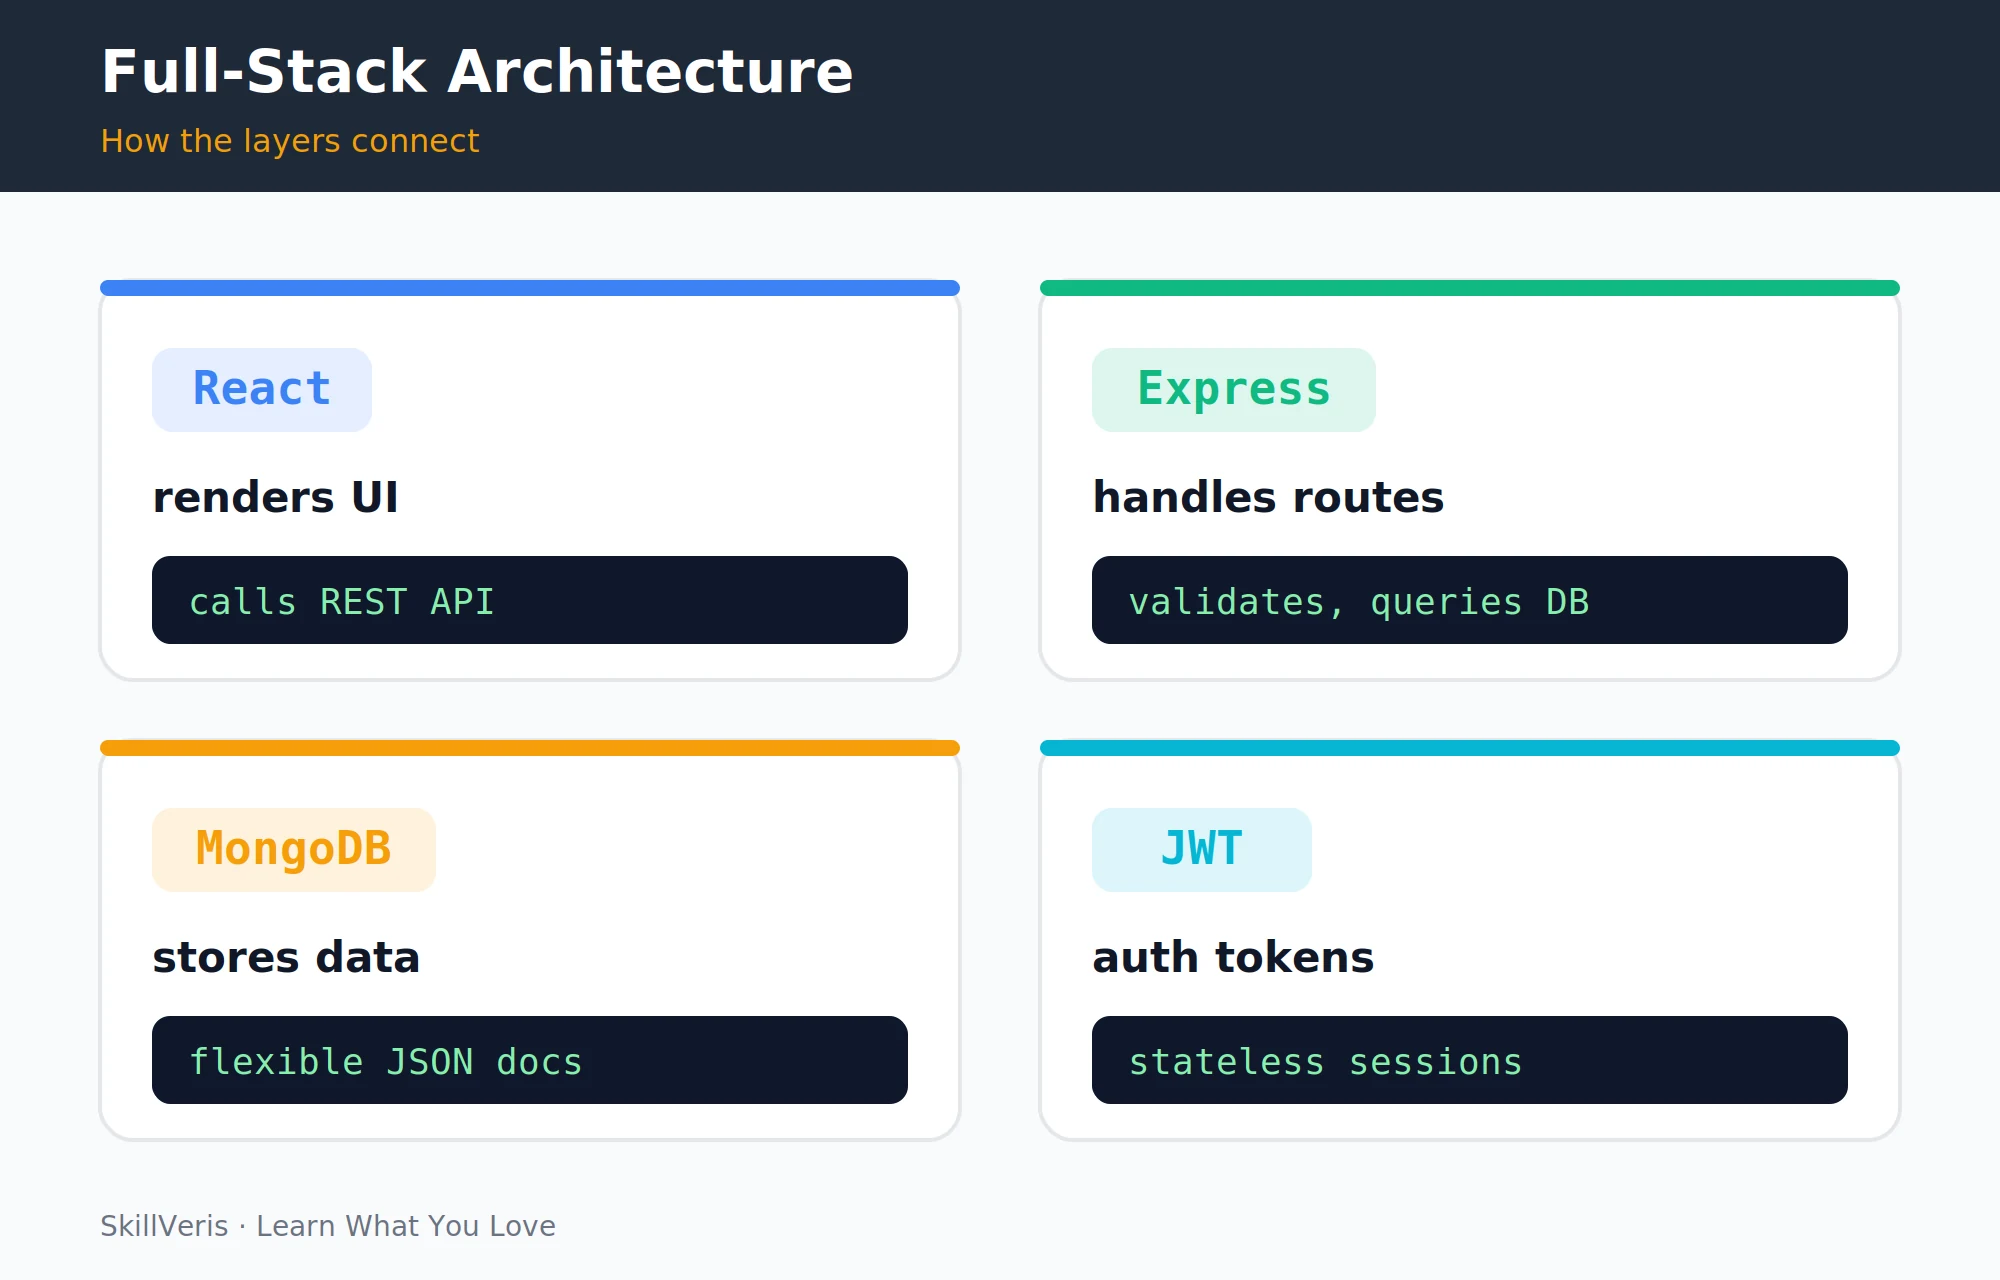
The MERN stack is MongoDB, Express, React, and Node.js. The four layers connect cleanly: React renders the UI and calls the backend, Express handles the API and auth, MongoDB stores the data, and JWT manages sessions statelessly.
This separation of concerns is exactly how decoupled production apps are structured.
- React (port 3000): renders the UI, manages state, calls the backend API via Axios.
- Node.js + Express (port 5000): REST API that handles authentication, validates requests, and queries the database.
- MongoDB Atlas: cloud-hosted document database; the free tier is enough for this project.
- JWT: JSON Web Tokens for stateless session management, with no server-side sessions needed.
3Prerequisites
Before starting, make sure your environment is ready and you have accounts for the cloud services you'll deploy to. If you're new to React, complete a JavaScript and React beginner guide first.
- Node.js 20+ installed (run node --version to check).
- A free MongoDB Atlas account (mongodb.com/atlas).
- A Vercel account (vercel.com) and a Railway account (railway.app) for deployment.
- Basic JavaScript and React knowledge.
4Step 1: Backend Setup (Node + Express)
Start by scaffolding the project structure and installing the backend dependencies. Express handles routing, Mongoose talks to MongoDB, and jsonwebtoken plus bcryptjs power authentication.
The server file wires up CORS, JSON parsing, and the two route modules for auth and todos.
Create the project and install dependencies
Set up the folders and install the packages you need.
# Create project structure
mkdir todo-app && cd todo-app
mkdir backend frontend
cd backend
npm init -y
npm install express mongoose jsonwebtoken bcryptjs cors dotenv
npm install --save-dev nodemon
backend/server.js
The entry point that mounts the routes and starts the server.
const express = require('express');
const cors = require('cors');
require('dotenv').config();
const app = express();
app.use(cors({ origin: process.env.FRONTEND_URL }));
app.use(express.json());
app.use('/api/auth', require('./routes/auth'));
app.use('/api/todos', require('./routes/todos'));
app.listen(process.env.PORT || 5000, () =>
console.log('Server running'));5Step 2: MongoDB Atlas and Mongoose
In MongoDB Atlas, create a free cluster, add your IP to the allowlist, and copy the connection string. Store your secrets in a .env file rather than hardcoding them.
A small db.js module connects Mongoose to your cluster and exits the process if the connection fails. Call require('./db')() at the top of server.js.
backend/.env
Environment variables keep credentials out of your source code.
MONGO_URI=mongodb+srv://user:[email protected]/todoapp
JWT_SECRET=replace_with_a_long_random_string
PORT=5000
FRONTEND_URL=http://localhost:3000
backend/db.js
A reusable connection helper for Mongoose.
const mongoose = require('mongoose');
module.exports = () => mongoose.connect(process.env.MONGO_URI)
  .then(() => console.log('MongoDB connected'))
.catch(err => { console.error(err); process.exit(1); });6Step 3: The Todo Model and Routes
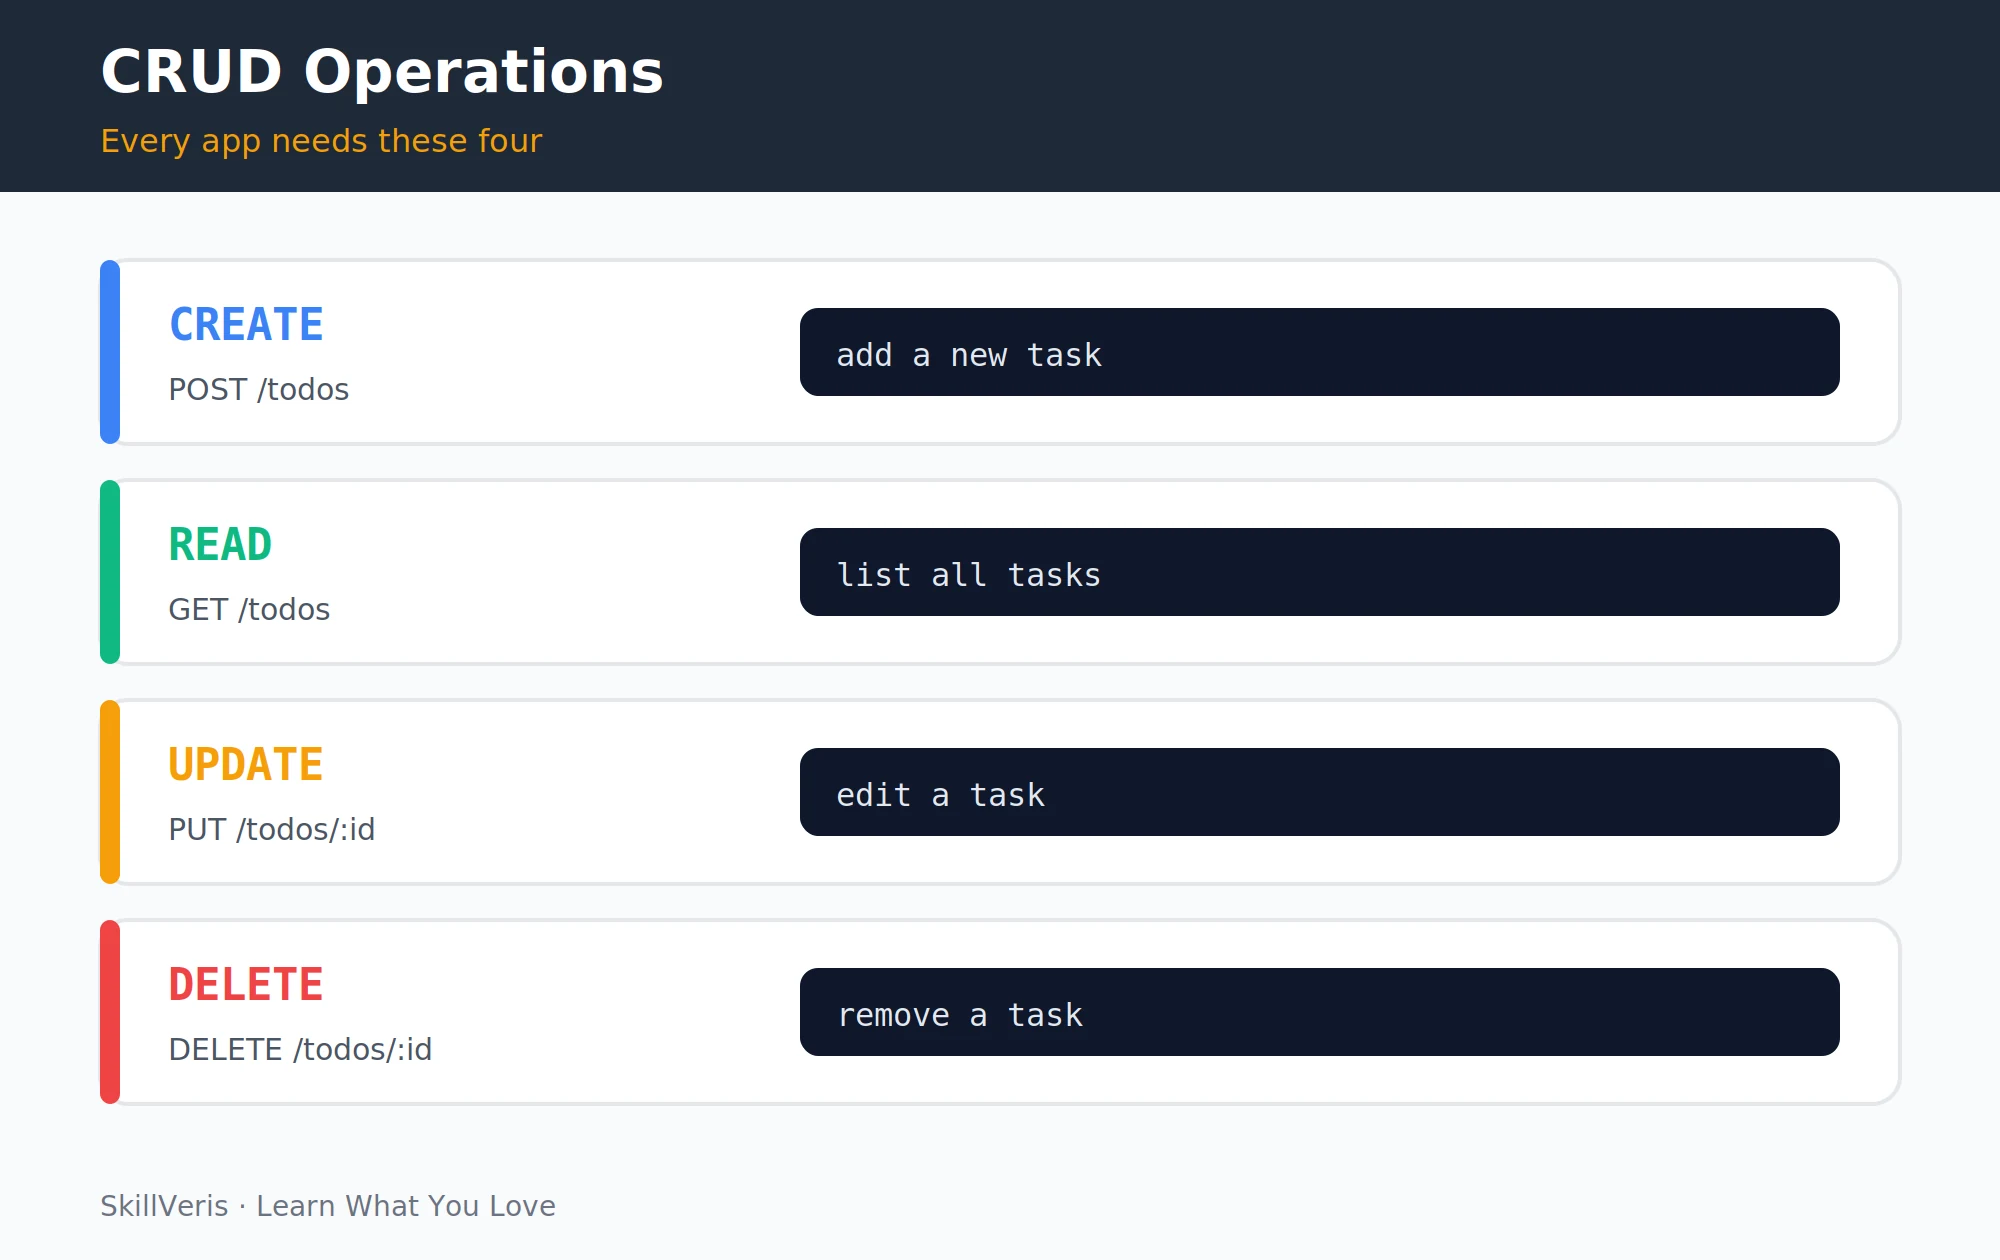
The Todo model defines the document shape: a reference to the owning user, the todo text, and a completed flag. The four HTTP methods map directly to Create, Read, Update, and Delete.
Every route is protected by an auth middleware that verifies the JWT and scopes queries to the current user, so users only ever see and modify their own todos.
backend/models/Todo.js
The Mongoose schema for a single to-do item.
const {Schema, model} = require('mongoose');
const TodoSchema = new Schema({
  user: { type: Schema.Types.ObjectId, ref: 'User', required: true },
  text: { type: String, required: true },
  completed: { type: Boolean, default: false }
}, { timestamps: true });
module.exports = model('Todo', TodoSchema);
backend/routes/todos.js
All four CRUD endpoints, each protected by the auth middleware.
const router = require('express').Router();
const auth = require('../middleware/auth');
const Todo = require('../models/Todo');
router.get('/', auth, async (req, res) => {
  const todos = await Todo.find({ user: req.userId });
  res.json(todos);
});
router.post('/', auth, async (req, res) => {
  const todo = await Todo.create({user:req.userId, text:req.body.text});
  res.status(201).json(todo);
});
router.put('/:id', auth, async (req, res) => {
  const todo = await Todo.findOneAndUpdate(
    {_id:req.params.id, user:req.userId}, req.body, {new:true});
  res.json(todo);
});
router.delete('/:id', auth, async (req, res) => {
  await Todo.findOneAndDelete({_id:req.params.id, user:req.userId});
  res.json({msg:'Deleted'});
});
module.exports = router;7Step 4: JWT Authentication
Create the User model and auth routes for POST /api/auth/register and POST /api/auth/login. The login route compares the submitted password against the bcrypt hash and, on success, returns a signed JWT.
The auth middleware decodes that token on every protected request and attaches req.userId, so downstream handlers know who is making the call.
Login handler
Verify the password and issue a token that expires in seven days.
const jwt = require('jsonwebtoken');
const bcrypt = require('bcryptjs');
// In the login handler:
const valid = await bcrypt.compare(req.body.password, user.password);
if (!valid) return res.status(401).json({msg:'Invalid credentials'});
const token = jwt.sign({userId: user._id}, process.env.JWT_SECRET, {expiresIn:'7d'});
res.json({ token });
auth middleware
Decode the bearer token and attach the user id to the request.
module.exports = (req, res, next) => {
  const token = req.headers.authorization?.split(' ')[1];
  if (!token) return res.status(401).json({msg:'No token'});
  try {
    req.userId = jwt.verify(token, process.env.JWT_SECRET).userId;
    next();
  } catch { res.status(401).json({msg:'Invalid token'}); }
};8Step 5: React Frontend Setup
Switch to the frontend folder, scaffold a React app, and install Axios and React Router. A small api.js module configures Axios with the base URL and automatically attaches the JWT from localStorage to every request.
Centralising the API client this way means you never have to remember to set the Authorization header manually.
Scaffold the frontend
Create the React app and add the client libraries.
cd ../frontend
npx create-react-app . --template cra-template
npm install axios react-router-dom
src/api.js
An Axios instance that injects the JWT on every request.
import axios from 'axios';
const api = axios.create({ baseURL: process.env.REACT_APP_API_URL });
api.interceptors.request.use(cfg => {
  const token = localStorage.getItem('token');
  if (token) cfg.headers.Authorization = `Bearer ${token}`;
  return cfg;
});
export default api;9Step 6: Connecting Frontend to API
Build a small set of React components to tie the UI to the API. An AuthContext stores the JWT and user state and wraps the whole app, while Login and Register pages call the auth endpoints and store the returned token.
The TodoList component fetches todos on mount, renders them, and handles add, complete, and delete actions through the shared Axios client.
- AuthContext: stores the JWT and user state and wraps the whole app.
- Login / Register pages: call POST /api/auth/login and store the returned token.
- TodoList component: fetches todos on mount, renders them, and handles add/complete/delete.
Fetching and adding todos
Load todos on mount and append new ones optimistically.
// Fetch todos on mount
useEffect(() => {
  api.get('/api/todos').then(r => setTodos(r.data));
}, []);
// Add a todo
const addTodo = async (text) => {
  const {data} = await api.post('/api/todos', { text });
  setTodos(prev => [...prev, data]);
};10Step 7: Styling the UI
For a portfolio-ready look without building a design system, pick one of a few well-trodden styling approaches. Keep the UI clean and functional.
Recruiters are evaluating whether the app works and the quality of your code, not your graphic design taste.
- Tailwind CSS: utility classes, fast to write, no custom CSS needed (npm install tailwindcss).
- shadcn/ui: pre-built accessible components on top of Tailwind, production quality.
- CSS Modules: scoped CSS per component, no extra dependencies.
💡Pro Tip
Add loading states and error messages to every API call. An app that shows a blank screen when the network is slow looks broken. A spinner and a friendly error ('Couldn't load todos. Try refreshing.') shows engineering maturity.
11Step 8: Deploying the App
Deploy the backend to Railway: push the backend folder to GitHub, create a Railway project connected to the repo, and set the MONGO_URI, JWT_SECRET, and FRONTEND_URL environment variables. Railway auto-detects Node.js, deploys, and gives you a URL.
Deploy the frontend to Vercel: push the frontend folder to GitHub, import it to Vercel, and set REACT_APP_API_URL to your Railway backend URL. Finally, update Railway's FRONTEND_URL to the Vercel URL to fix CORS, and both services are live and connected.
Backend (Railway)
Three steps to get the API online.
1. Push the backend folder to a GitHub repo.
2. Create a new Railway project, connect the repo, and set environment variables (MONGO_URI, JWT_SECRET, FRONTEND_URL).
3. Railway auto-detects Node.js and deploys. Copy the generated URL.
Frontend (Vercel)
Three steps to ship the React UI.
1. Push the frontend folder to a GitHub repo.
2. Import to Vercel and set REACT_APP_API_URL to your Railway backend URL.
3. Vercel builds and deploys automatically on every push to main.12Key Takeaways
The MERN stack covers every concept in modern full-stack development, and deploying the two services independently is the real-world pattern for decoupled architectures.
- The MERN stack covers REST APIs, document databases, component UIs, and JWT auth.
- Deploy frontend and backend separately; this is the real-world pattern for decoupled architectures.
- JWT auth is stateless: no server sessions, and the token carries the user's identity on every request.
- Add loading states and error handling to every API call; it is what separates a tutorial from a professional app.
13What to Build Next
Extend this project or move on to the next challenge. Adding features that weren't in any tutorial is what turns a learning exercise into a genuine portfolio piece.
- Add due dates, priority levels, and tag/filter functionality to the todo app.
- Replace MongoDB with PostgreSQL and learn SQL with an ORM such as Prisma.
- Add the project to your portfolio with a README, a live demo link, and a 3-sentence case study.
14Frequently Asked Questions
Why MERN and not another stack? MERN uses JavaScript end-to-end across both frontend and backend, which reduces context-switching while you're learning. It is also one of the most in-demand stacks for web developer roles globally.
Is JWT the right auth approach for production? JWT is widely used and appropriate for most apps. For applications with strict security requirements such as banking or healthcare, consider adding refresh token rotation and storing tokens in httpOnly cookies instead of localStorage. The implementation here is correct for learning and most standard apps.
What if I get a CORS error? CORS errors mean the browser is blocking requests from your frontend's domain to your backend's domain. Check that the FRONTEND_URL environment variable on Railway exactly matches the Vercel deployment URL, including https:// and no trailing slash.
Can I use this project in a job interview portfolio? Yes, especially if you extend it beyond the basics described here. Add at least one feature that wasn't in a tutorial such as categories, shared lists, or deadline reminders, and document your decision-making process in the README. That is what makes it yours.
Related Reading
Get The Print Version
Download a PDF of this article for offline reading.
About the Publisher
SkillVeris Team
Engineering Team
Our engineering team documents real build journeys so you can learn by doing, not just reading.
View all postsRelated Posts
Never miss an update
Get the latest tutorials and guides delivered to your inbox.
No spam. Unsubscribe anytime.